

Are ultrasonic humidifiers easy to assemble?
Oct 13, 2025
Ultrasonic humidifiers have become a popular choice for many households and commercial settings due to their ability to efficiently add moisture to the air. As a supplier of ultrasonic humidifiers, I often get asked whether these devices are easy to assemble. In this blog post, I'll delve into the assembly process of ultrasonic humidifiers, share some tips, and discuss the overall user experience.
The Basics of Ultrasonic Humidifiers
Before we jump into the assembly process, let's briefly understand how ultrasonic humidifiers work. These devices use high - frequency vibrations to create a fine mist from water. The mist is then released into the air, increasing the humidity levels. Ultrasonic humidifiers are known for their quiet operation, energy efficiency, and ability to quickly humidify a space.
Components of an Ultrasonic Humidifier
Most ultrasonic humidifiers come with a few standard components. These typically include a water tank, a base unit, a mist outlet, a control panel, and sometimes additional accessories like filters or essential oil trays. The water tank is where you fill the water, and the base unit houses the ultrasonic transducer that creates the mist. The mist outlet is where the mist is released, and the control panel allows you to adjust settings such as mist output and humidity levels.

The Assembly Process
One of the great things about ultrasonic humidifiers is that they are generally very easy to assemble. Here's a step - by - step guide on how to assemble a typical ultrasonic humidifier:
- Unpack the Humidifier: Start by carefully unpacking the humidifier from its box. Make sure you have all the components listed in the user manual. Usually, the box will contain the base unit, the water tank, the mist outlet, and any additional accessories.
- Prepare the Base Unit: Place the base unit on a flat, stable surface. Ensure that it is away from any heat sources or electronics to prevent damage. Check the base unit for any signs of damage or loose parts.
- Fill the Water Tank: Remove the water tank from the base unit. Unscrew the cap on the top of the tank and fill it with clean, distilled water. Distilled water is recommended as it helps prevent the build - up of mineral deposits in the humidifier. Once the tank is filled, replace the cap tightly.
- Attach the Mist Outlet: Locate the mist outlet on the base unit. Align it with the corresponding slot on the base and gently push it in until it clicks into place. Some mist outlets may require you to twist them slightly to secure them.
- Connect the Water Tank to the Base Unit: Place the filled water tank back onto the base unit. Most water tanks are designed to fit snugly onto the base, and you may hear a click when it is properly seated. Make sure the connection is secure to prevent any water leakage.
- Power On and Test: Plug the humidifier into a power outlet. Turn on the device using the control panel. You should start to see mist being released from the mist outlet within a few minutes. Adjust the settings according to your needs.
Tips for Easy Assembly
- Read the User Manual: This may seem obvious, but many people skip this step. The user manual provides detailed instructions on how to assemble and operate the humidifier. It also contains important safety information.
- Clean the Components Before Assembly: Wipe down the water tank, base unit, and mist outlet with a clean, damp cloth before assembling the humidifier. This helps remove any dust or debris that may have accumulated during shipping.
- Use Distilled Water: As mentioned earlier, distilled water is the best choice for filling the water tank. It not only prevents mineral deposits but also helps the humidifier operate more efficiently.
Different Types of Ultrasonic Humidifiers and Their Assembly
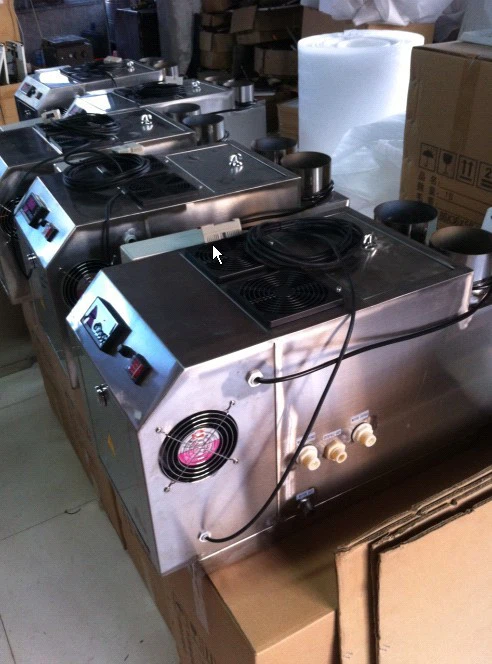
There are various types of ultrasonic humidifiers available in the market, each with its own unique features and assembly requirements. For example, Commercial Agriculture Humidifier is designed for large - scale agricultural applications. These humidifiers may be larger in size and have more complex components, but the basic assembly principles remain the same.
Floor Standing Humidifier is another type that is suitable for larger rooms. They usually have a more substantial water tank and a sturdier base. The assembly process for floor - standing humidifiers is similar to that of smaller units, but you may need to be more careful when handling the larger components.
Air Purifier Humidifier combines the functions of an air purifier and a humidifier. These devices may have additional components such as air filters, which need to be installed correctly. However, the overall assembly process is still relatively straightforward.
User Experience and Feedback
Based on customer feedback, the majority of users find ultrasonic humidifiers easy to assemble. The simple design and clear instructions make it possible for even those with limited technical skills to put the humidifier together without any problems. Many users also appreciate the fact that the assembly process is quick, allowing them to start using the humidifier right away.
Conclusion
In conclusion, ultrasonic humidifiers are indeed easy to assemble. Whether you are a first - time user or an experienced consumer, you should have no trouble putting together a typical ultrasonic humidifier. With their simple design, clear instructions, and minimal number of components, these devices are a convenient choice for adding moisture to the air.
If you are interested in purchasing an ultrasonic humidifier for your home or commercial space, we are here to assist you. Our wide range of ultrasonic humidifiers offers different features and capacities to meet your specific needs. Contact us today to start a procurement discussion and find the perfect humidifier for you.
References
- Manufacturer's user manuals for ultrasonic humidifiers
- Customer feedback and reviews on ultrasonic humidifiers